
Create your account
myPoolFlow signs you up the same way whether you plan to run a one-person operation or manage a crew. The differences come later, once your account exists.
- Download myPoolFlow from the App Store or Google Play, or open app.mypoolflow.com in your browser.
- Tap Create account on the welcome screen and use a real email — we use it to verify the address, send a password reset if you ever need one, and route incoming join requests from technicians.
- Verify the email link we send before signing in for the first time. The app blocks most write actions until the email is verified, so your data stays attached to a contactable owner.
Name your workspace
Open More → Settings → Profile and tap Update workspace name to set your business name. This name appears on customer-facing pages (work-order approvals, visit feedback, the customer billing portal) and in invites you send to technicians, so use the name your customers actually know.
Follow the getting-started checklist
From any admin tab, a compact Get started pill floats in the bottom-right corner with your progress (e.g. 2/4). Tap it to inflate the panel and see the guided setup steps; tap the chevron in the panel header to collapse it back to the pill so the page is unobscured. Each row tracks real progress — myPoolFlow flips it to a green check the moment the underlying data exists, so you can't miss a step and you can't fake one. The denominator is four because Invite a teammate is optional and doesn't gate the celebration; it's shown in the list with its own check mark but never blocks All set!.
- Invite a teammate (optional) — opens Settings → Team so you can send a join code or invite link. Auto-completes the moment a teammate joins (or when you yourself joined an existing company that already had people in it). This step is informational only — you can finish the checklist without ever sending an invite. Working alone? Tap the small I'm working solo — skip this step link under the step subtitle to surface a green check mark for tidiness; you can flip it back later with Working with someone? Undo solo if you ever decide to invite a technician.
- Add your first client — jumps to Clients & billing so you can create a customer record.
- Add a pool to a client — from the client you just created, add the pool or spa you service for them. Each client can have multiple pools at multiple addresses.
- Schedule your first stop — jumps to Schedule so you can drop the pool onto a technician lane for any day.
- Log your first visit — jumps to Stops so you can complete a real (or test) visit and see what customers and admins see when one is filed.
Inflate the panel and tap the × in the header to hide the checklist for the whole company — useful for established businesses that don't need the prompts. You can always bring it back from More → Settings → App preferences → Show getting-started checklist. Once all four required steps are complete the pill shows Setup complete with an All set! badge so you know there's nothing required left to do; dismiss it when you want the corner back. (The optional team row can still be open and the celebration shows anyway.)
Learn the main tabs
The bottom bar (mobile) or side rail (web) is your home base. The exact set of tabs depends on screen width — anything that doesn't fit lives in More.
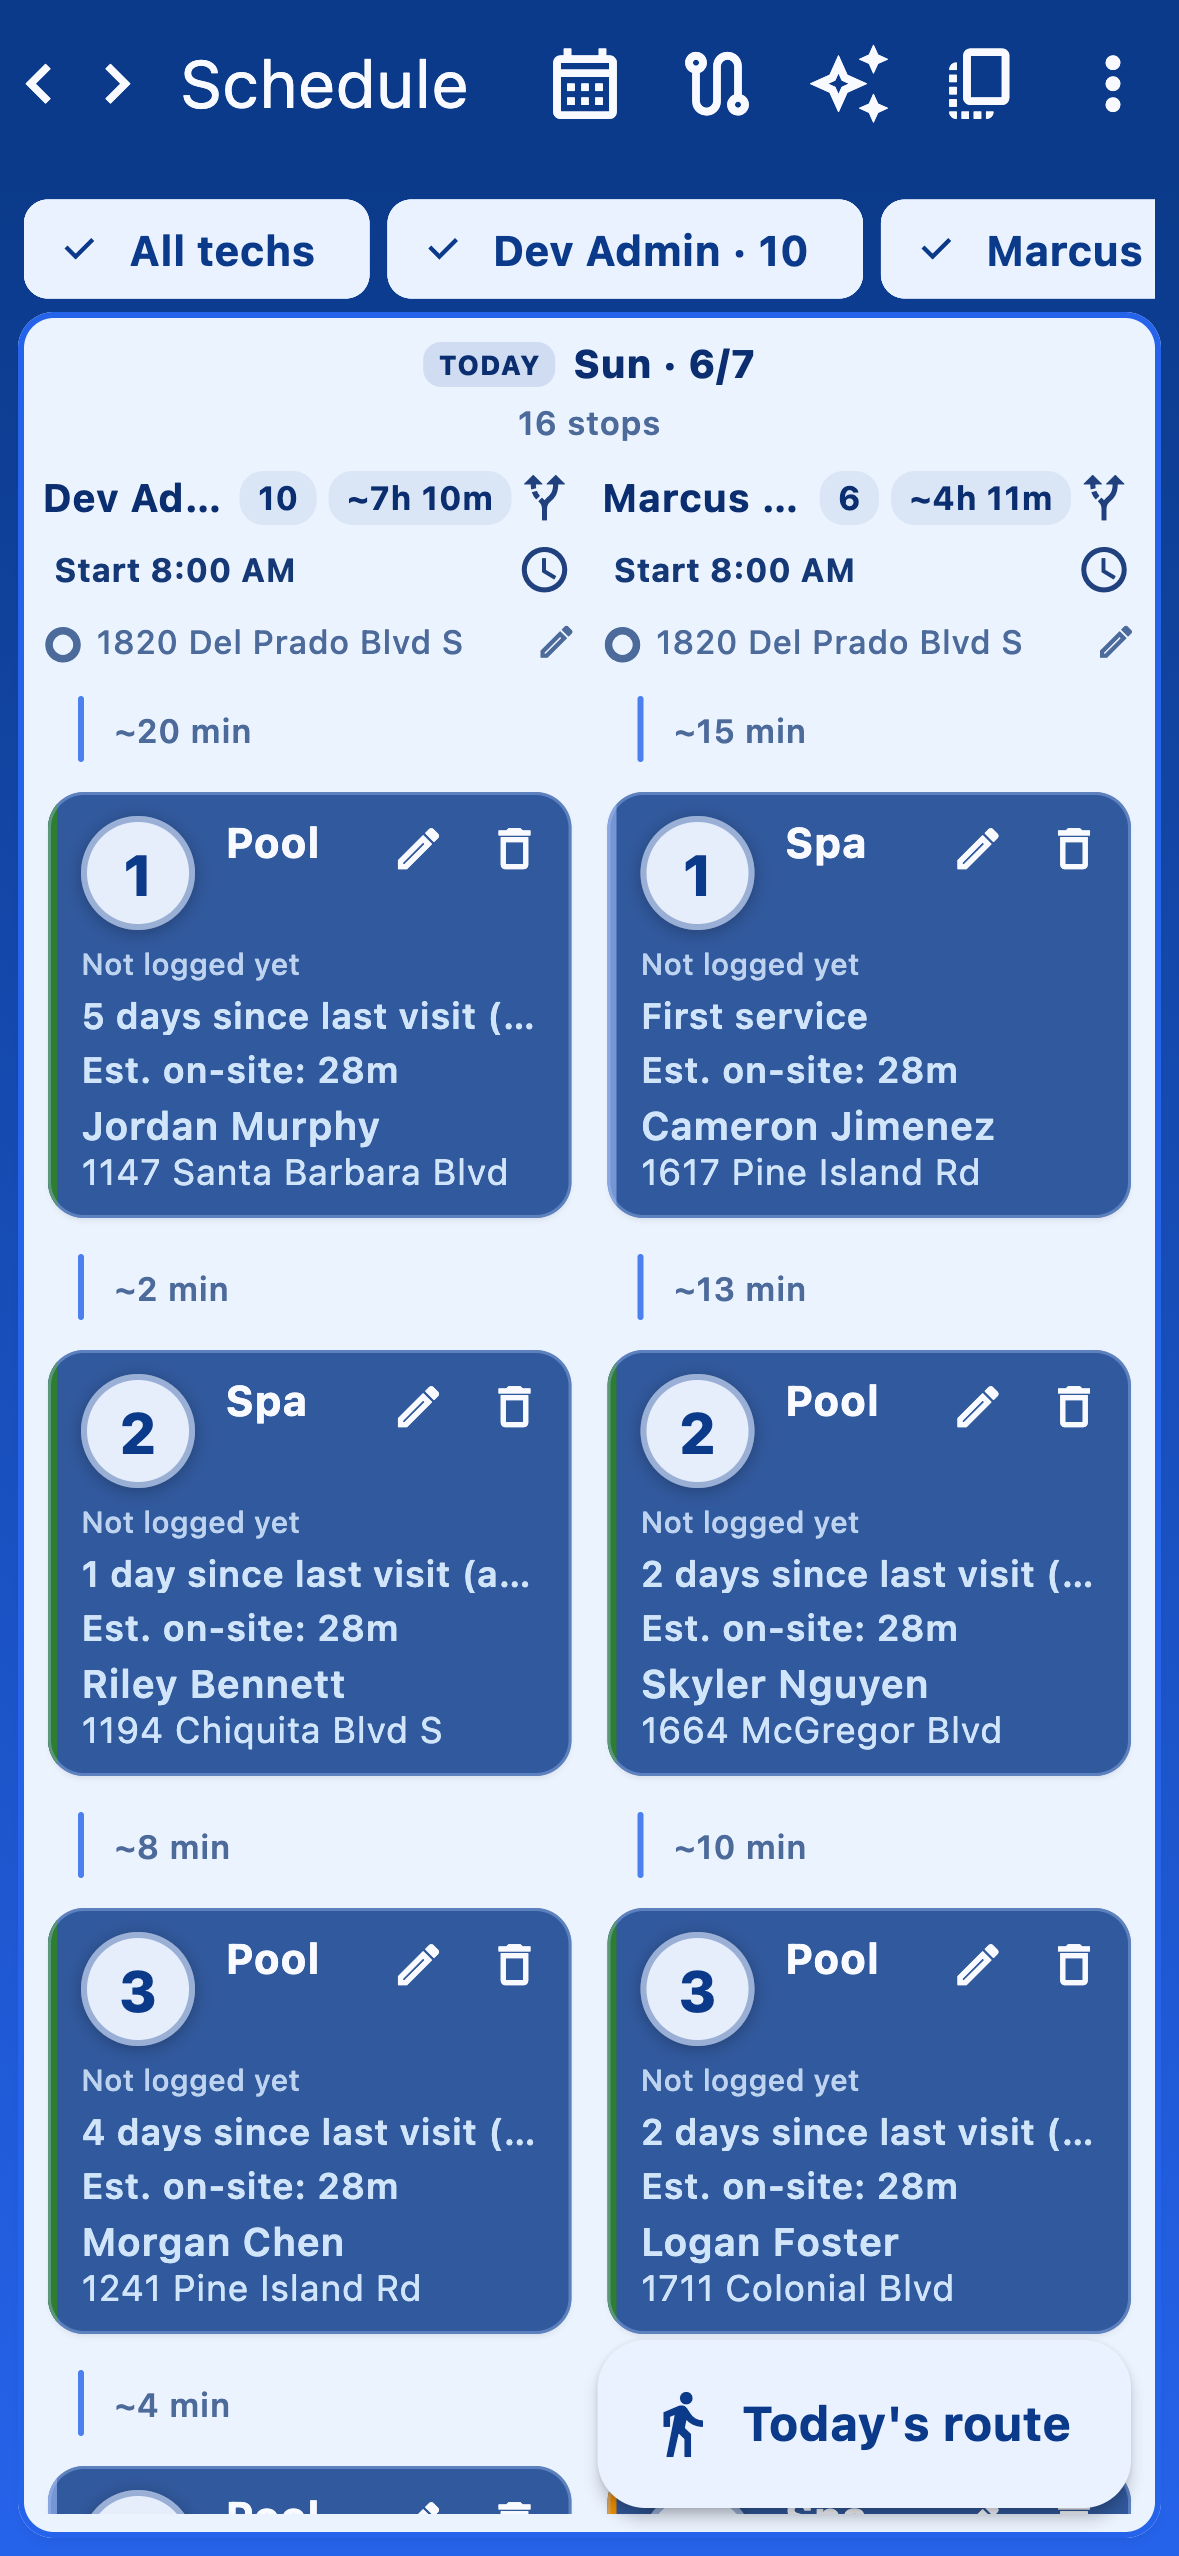
- Schedule — the planner where you assign stops to technicians for each day of the week.
- Stops — the list of pools due for service, with a Log visit button on each row and a map icon in the app bar.
- Clients & billing — your customer directory (pools, contact info, balance).
- Inventory — company chemical stock across the warehouse and every truck.
- Reports — visit trends, mileage, dosage charts.
- Quotes — work orders, deposits, customer approvals.
- Team chat — appears once your company has at least two members.
- More — whatever overflowed, plus Support and Settings. Less-frequent admin pages live under Settings → Team (invites, roles) and the rest of the Company settings card.
Decide your team shape
Three setups are common, and you don't have to commit forever — you can move between them later:
- Solo operator. Stay in your own workspace. You'll see admin tools and tech tools in one place because you wear both hats.
- Owner + crew. Stay in your own workspace and invite technicians from Settings → Team. They sign up for their own accounts and then join yours.
- Working for another company. If you're primarily a technician at someone else's company, sign in, request to join that company from the profile sheet, and switch to Work at <company> when it's approved. You can keep a personal workspace on the side for any pools you own.
Next steps
- Add your first customers and pools — see Clients & pools.
- Invite your team — see Team & invites.
- Set the default chemistry readings and checklist items technicians must log on every visit — see Visit requirements.