
Where work orders live
The Quotes tab is your work-order pipeline. Every order moves through a clear set of statuses — Draft, Pending customer approval, Approved, and Completed (plus rejected and canceled) — and the available actions change with the status, so the screen only ever shows you the next sensible step.
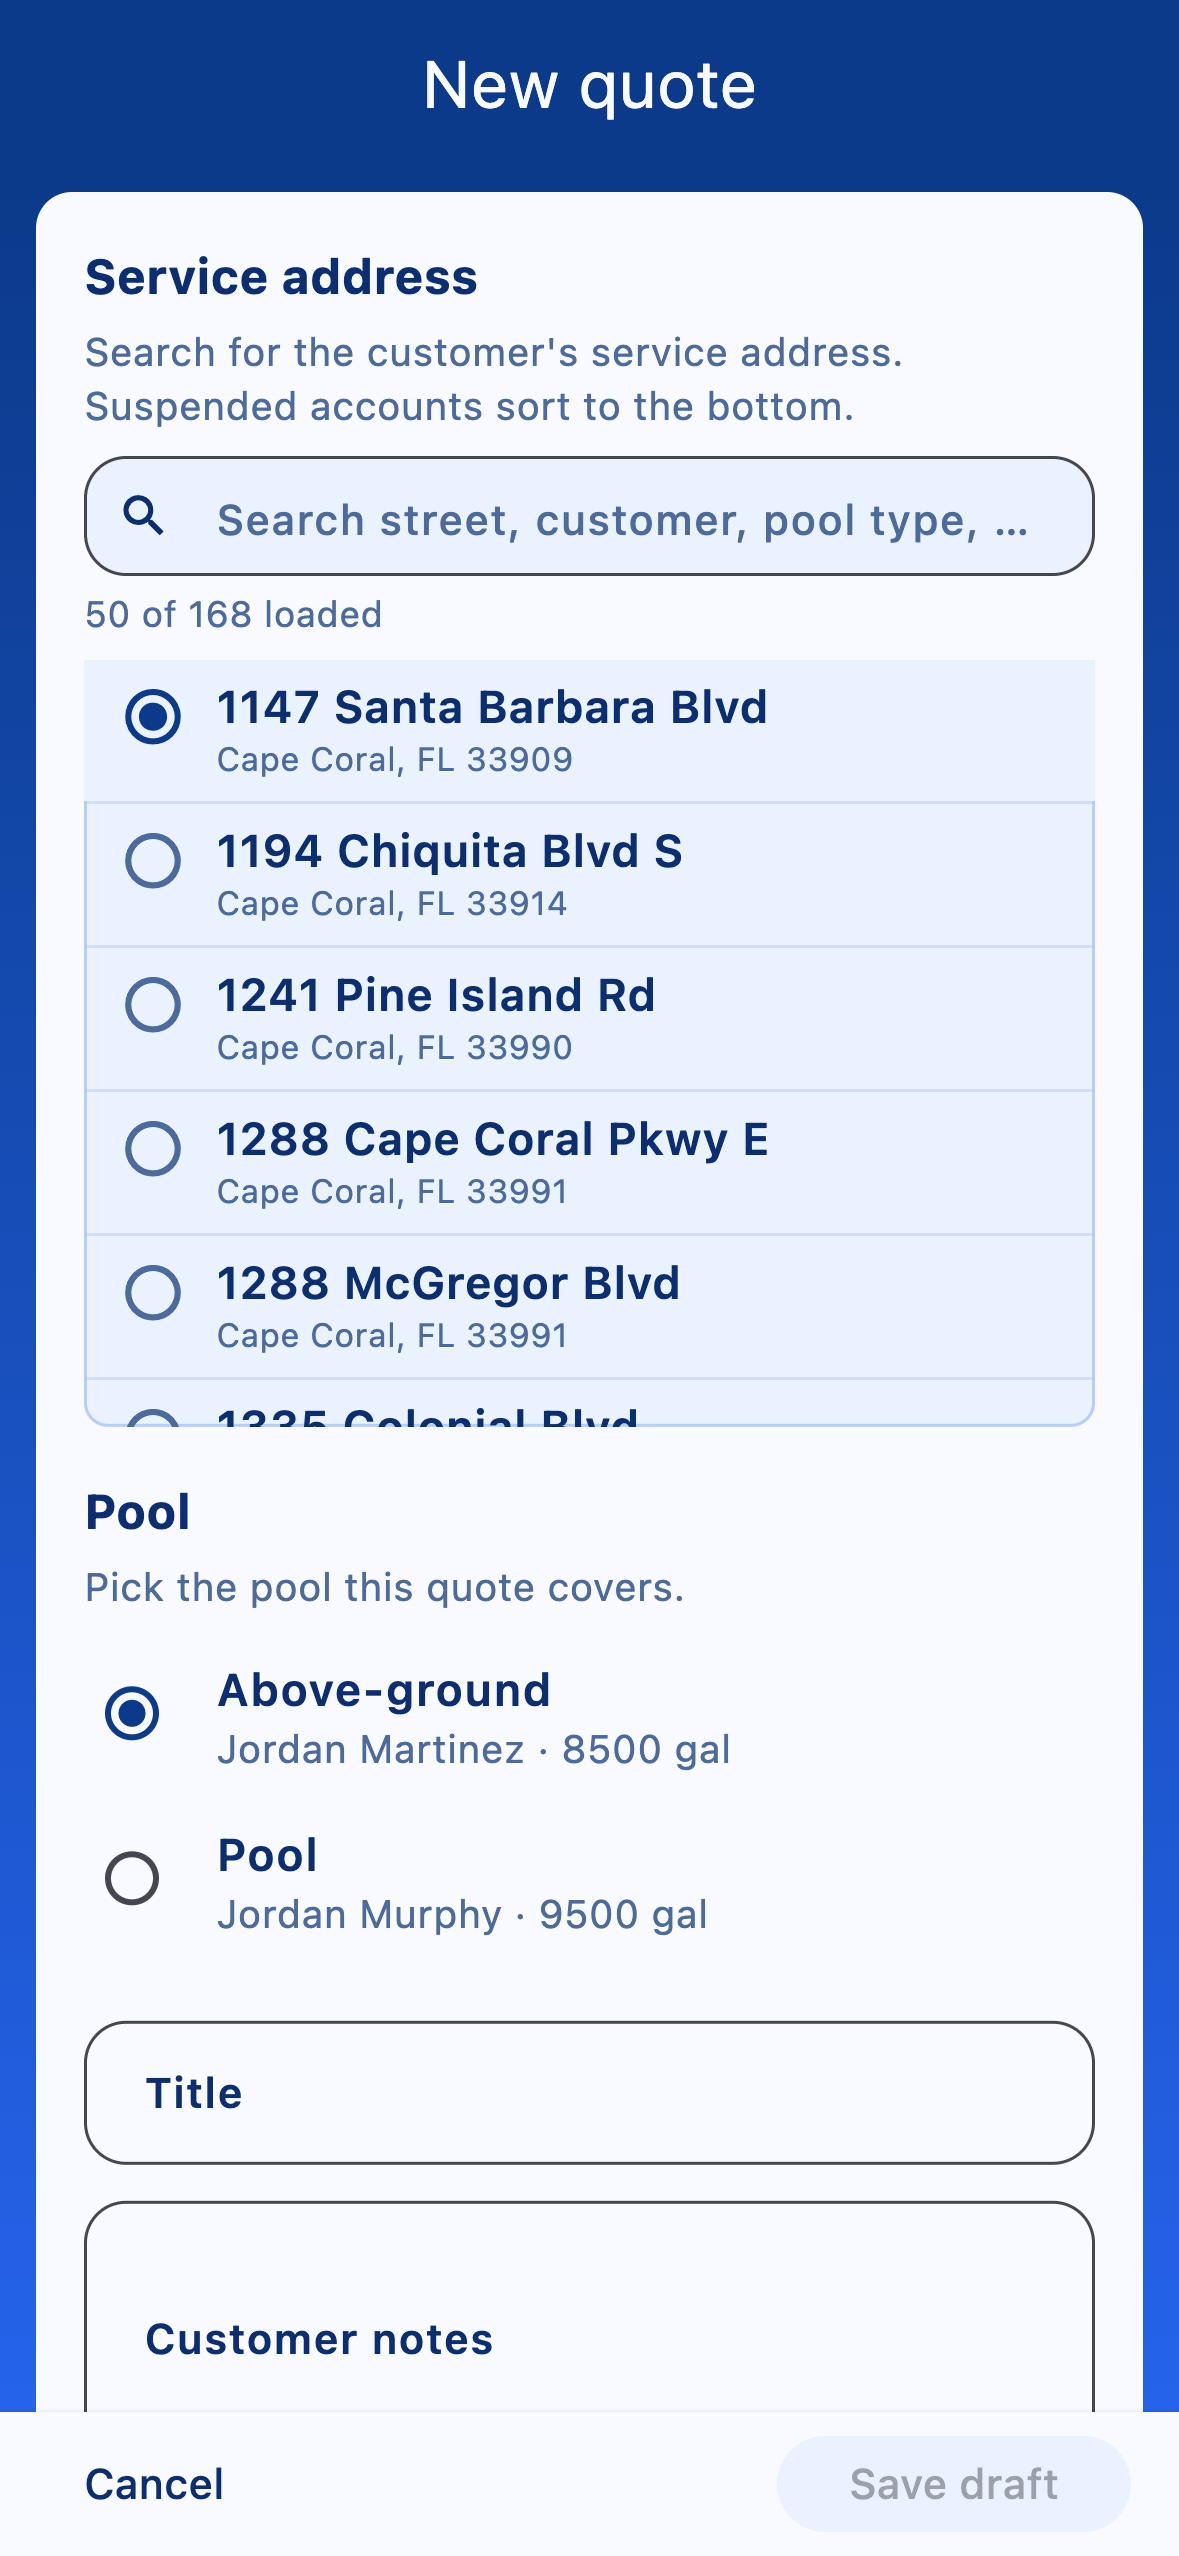
Create a quote
Tap New quote. Find the customer's Service address, pick the Pool the quote covers, and give it a Title. Add Customer notes (shown to the customer) and Internal notes (staff-only) if you need them.
- Tap Add line item for each part or service. Each item has a Description, a Parts $ amount, and a Labor / service $ amount, with an option to Apply sales tax to parts on this item.
- The description field autocompletes from your Custom parts inventory — pick a saved part and the price and on-hand count fill in, or just type free text. Linking a part lets myPoolFlow deduct it from stock when the order completes (see Inventory).
- Tap Save draft. The quote is saved but nothing is sent yet.
Send the quote for approval
When the line items are priced, tap Send to customer. The customer gets an email with a secure link to review the quote and approve or reject it online — no account needed. The order moves to Pending customer approval, and you can Resend to customer if they lose the email.
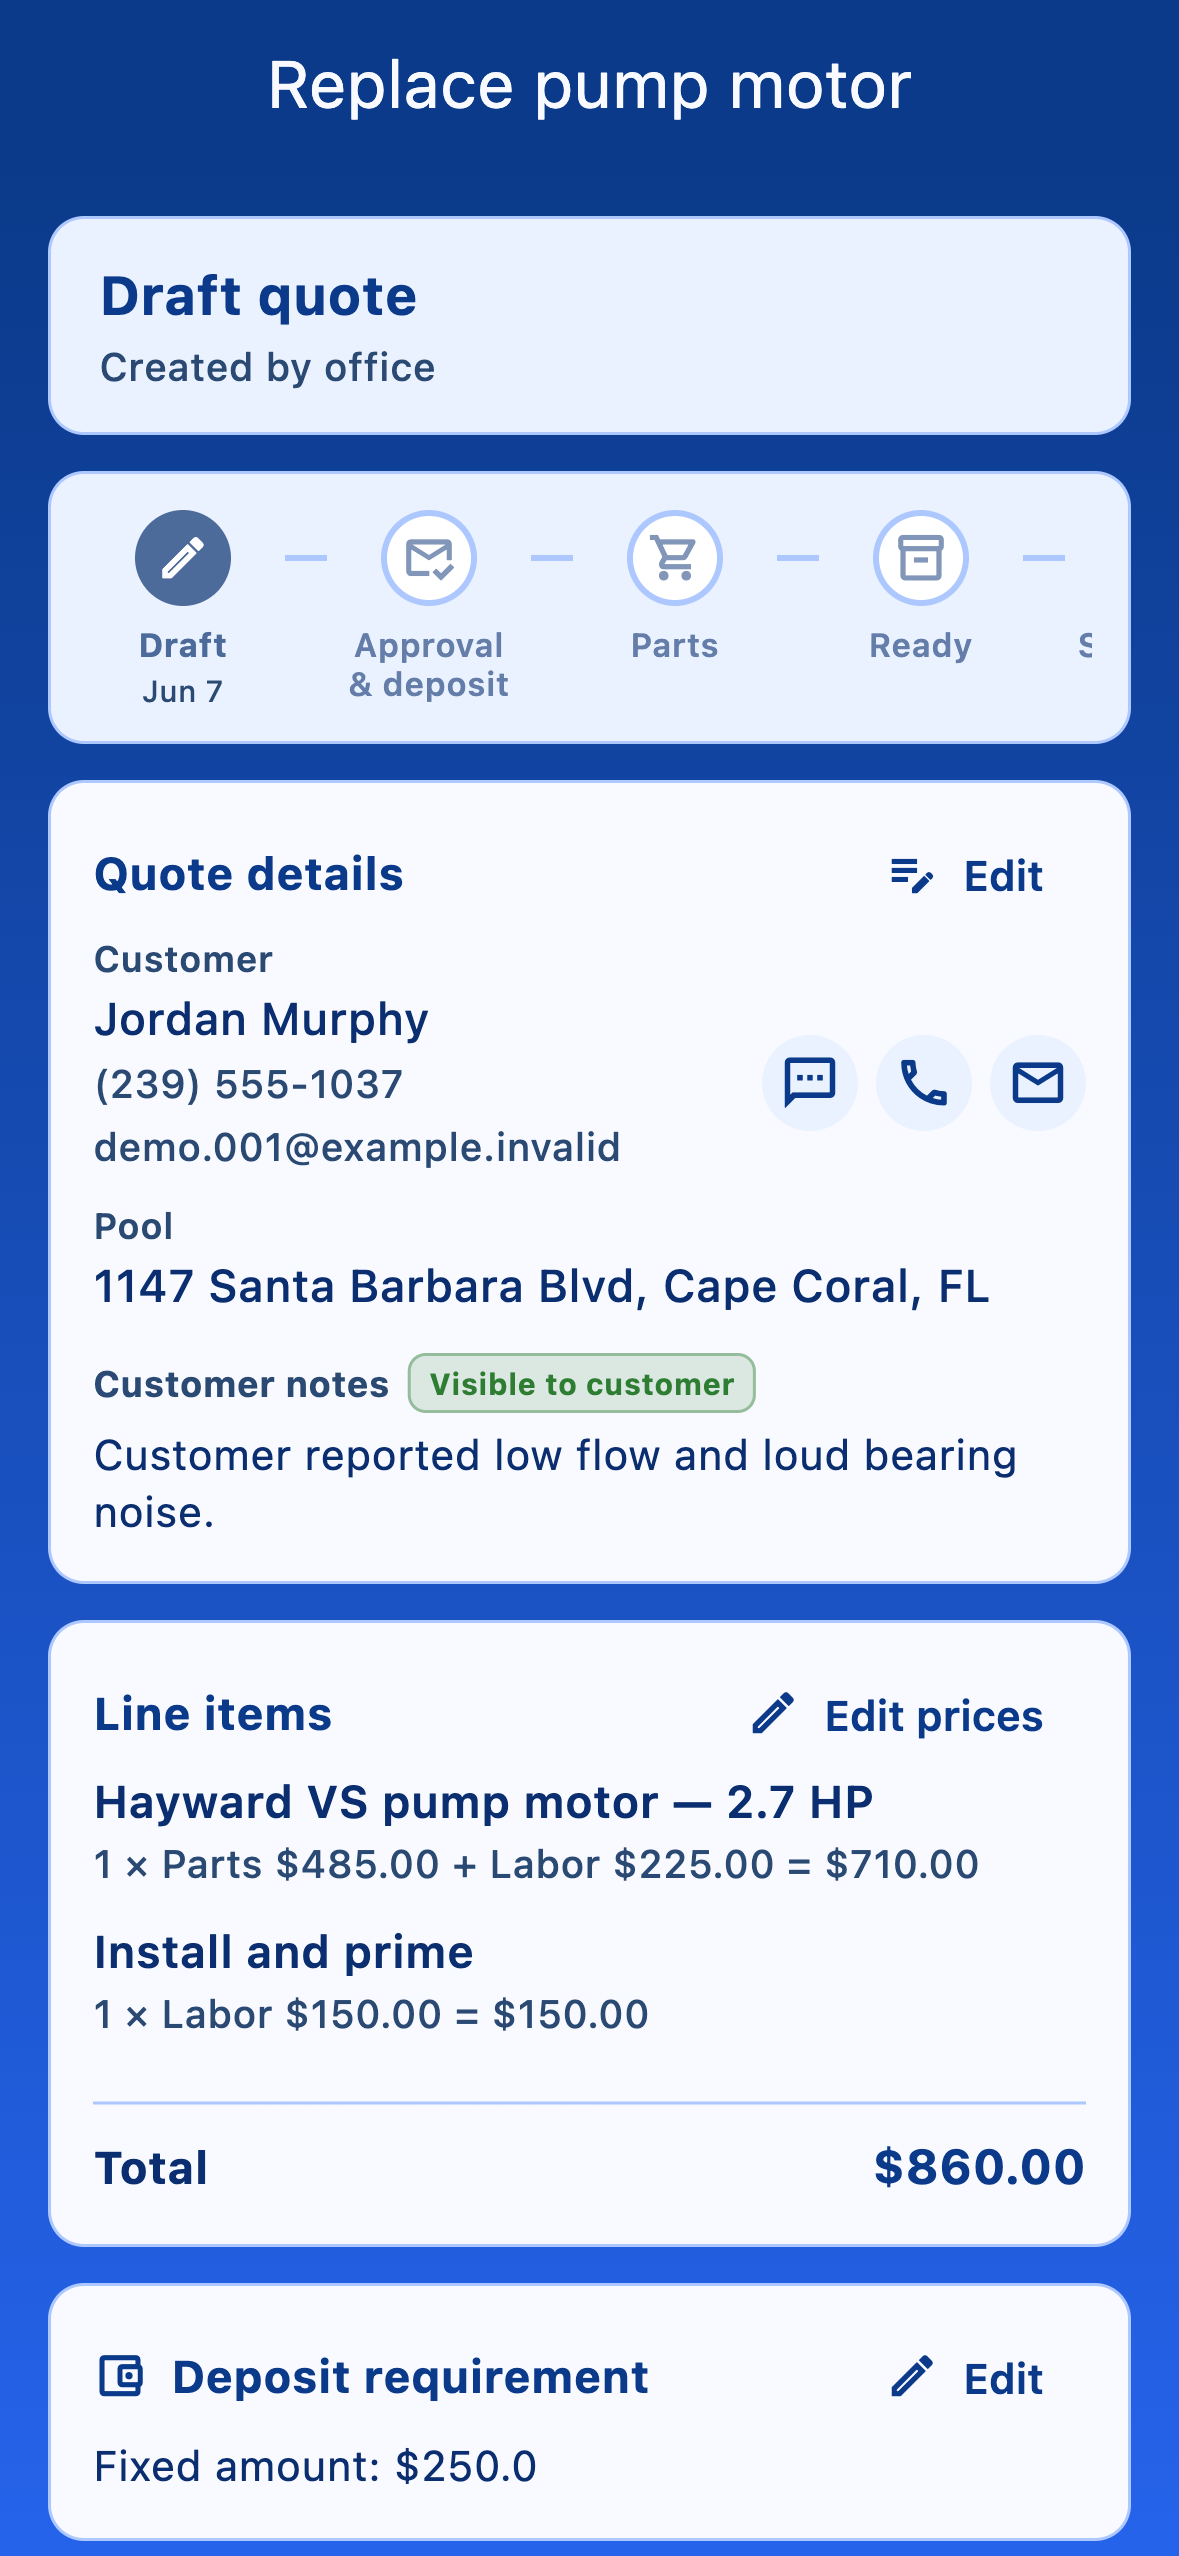
Require a deposit (optional)
On an approved order you can require a deposit before work begins. In the Deposit requirement card tap Add, turn on Require deposit, and choose a Fixed amount or a Percentage of the quote total, then Save deposit settings.
The customer pays the deposit through the same approval link (this needs Stripe connected). You can also Mark deposit paid manually if they paid you by cash or check.
Order parts and schedule the work
Once approved (and the deposit, if any, is paid), the Ready to schedule card walks you through getting the job on the calendar. If the order needs a part you don't have yet, mark it ordered and then received when it arrives; if no part is needed, tap No part needed — ready to schedule.
Then tap Schedule work order and pick how it lands on a route: attach it to an existing planned stop, add it to a new service visit, or create a dedicated work-order stop. The technician then sees it on Today's route and inside Log visit. Use Reschedule work order to move it later.
Complete the work order
Technicians tick each line item complete from inside Log visit as they finish the work. When everything's done, tap Mark work order completed on the order — any linked custom parts are deducted from inventory at that point, and the charge can flow to the customer's ledger (see Customer billing). If you need to change a sent quote, Withdraw to draft first — that clears the customer approval and any deposit tracking so you can edit and re-send cleanly.